
Hood Warfare 2 Hit A Lick: Bag Capture Guide (2026)
Learn Hood Warfare 2 Hit A Lick with five gameplay frames: find the enemy bag, confirm Bag Taken, return to your hood and check Bag Captured. Follow the run.
FAQ
What is the objective in Hood Warfare 2 Hit A Lick?
Does Bag Taken mean I have scored?
How can I recognize the bag I am carrying?
Can I use the same pickup rule as Chain Snatch?
How do you capture the bag in Hit A Lick?
Take the enemy bag, return to your hood and check for the capture confirmation. The official Steam description also tells you to watch your own bag. That gives the team two jobs: bring the enemy bag home and prevent the opposing gang from doing the same.
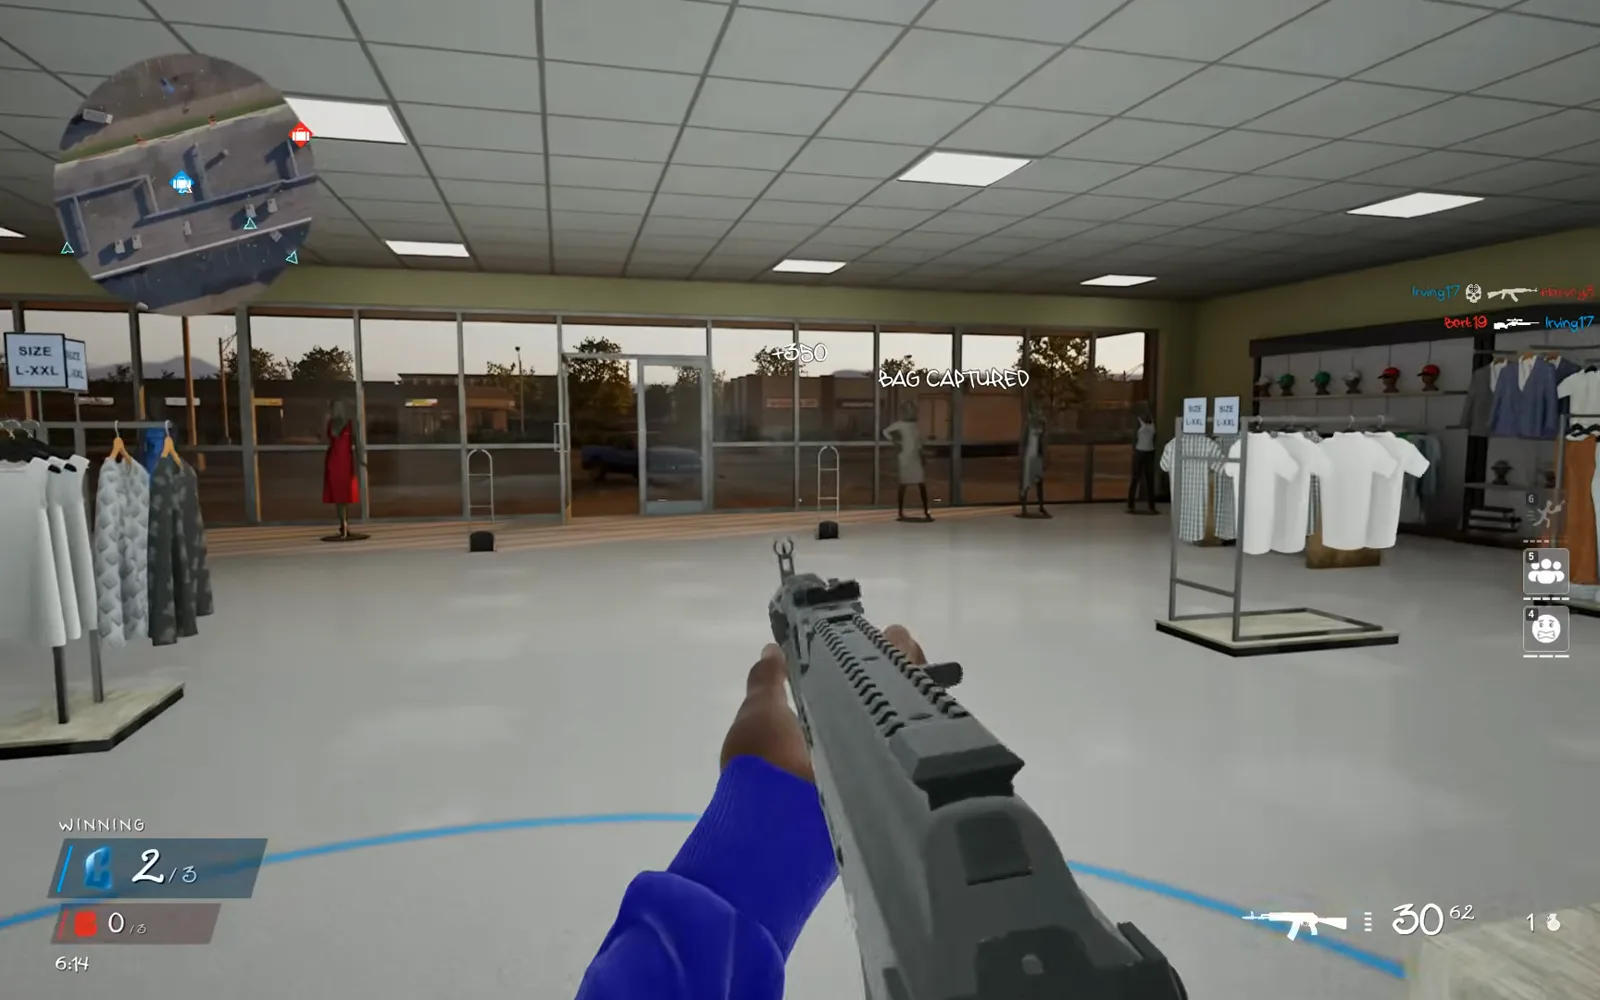
The clean gameplay sequence below follows a blue-team player. At 1:24, Bag Taken appears beside the enemy bag location; at 1:48, Bag Captured appears inside the friendly area and the blue capture count changes from one to two. The screenshots show those specific actions, not a universal route or a requirement to use the same weapon. Sources and frames checked October 17, 2026.
Follow the bag from pickup to capture
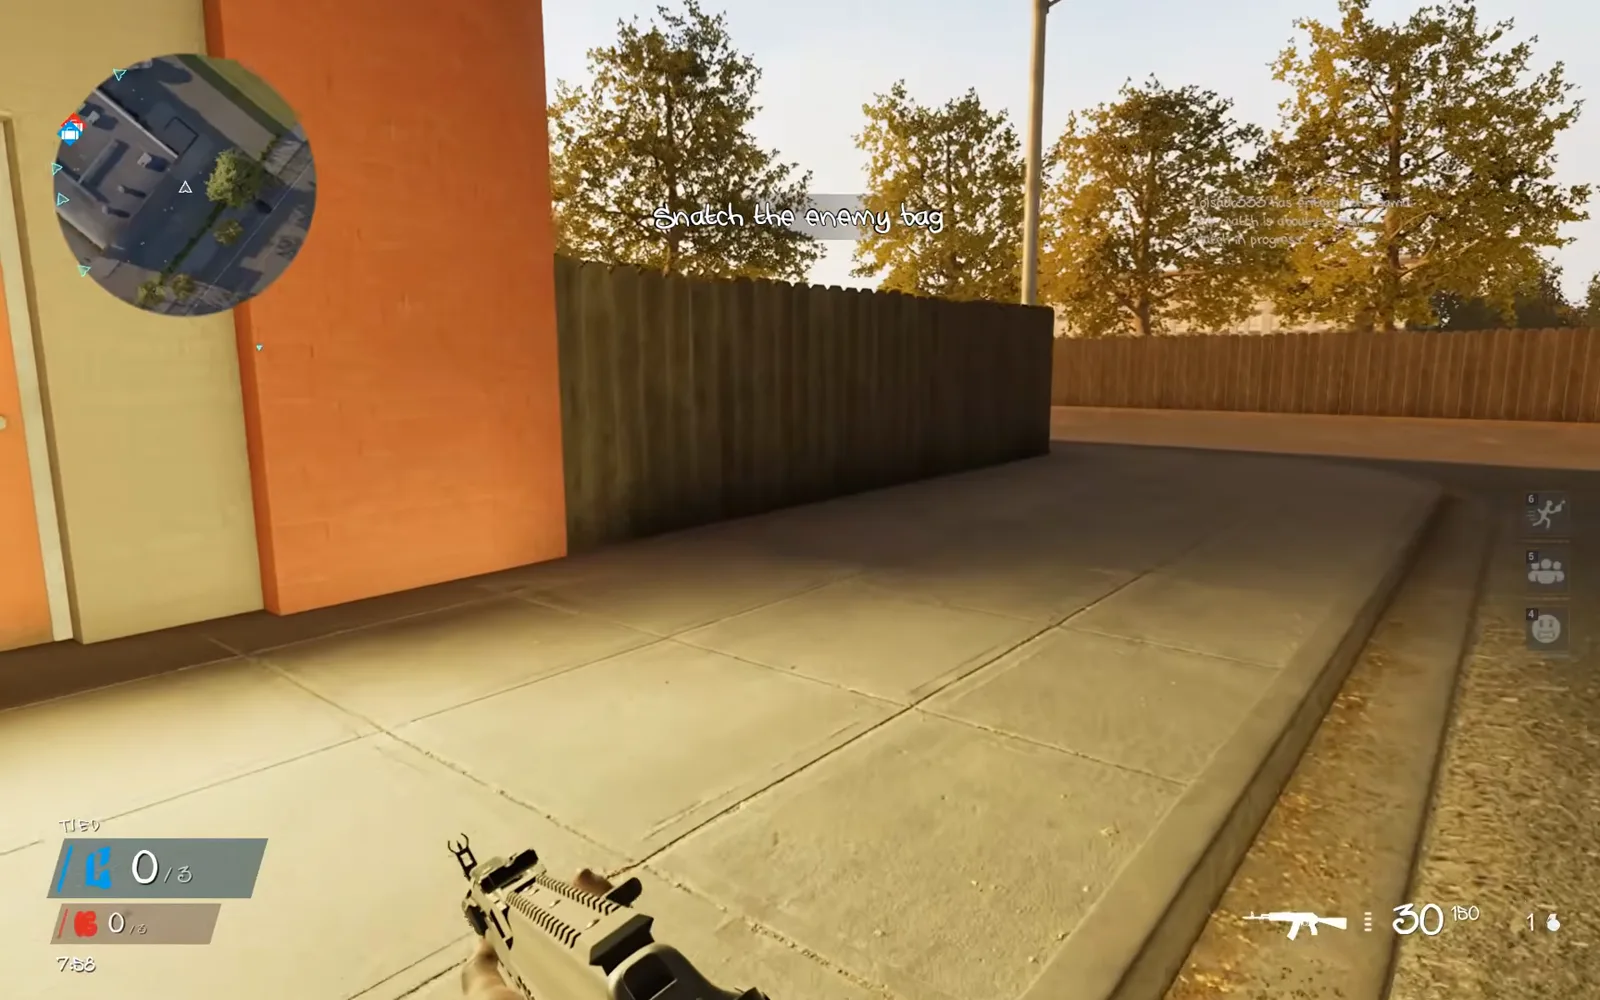
1. Read the objective and locate both bags
The opening instruction says Snatch the enemy bag, and the minimap shows separate red and blue bag icons. Locate both sides before committing to a route. The official rule requires attacking the enemy bag while watching your own; choosing which job to do is a team decision, rather than a reason for everyone to chase the same opponent.
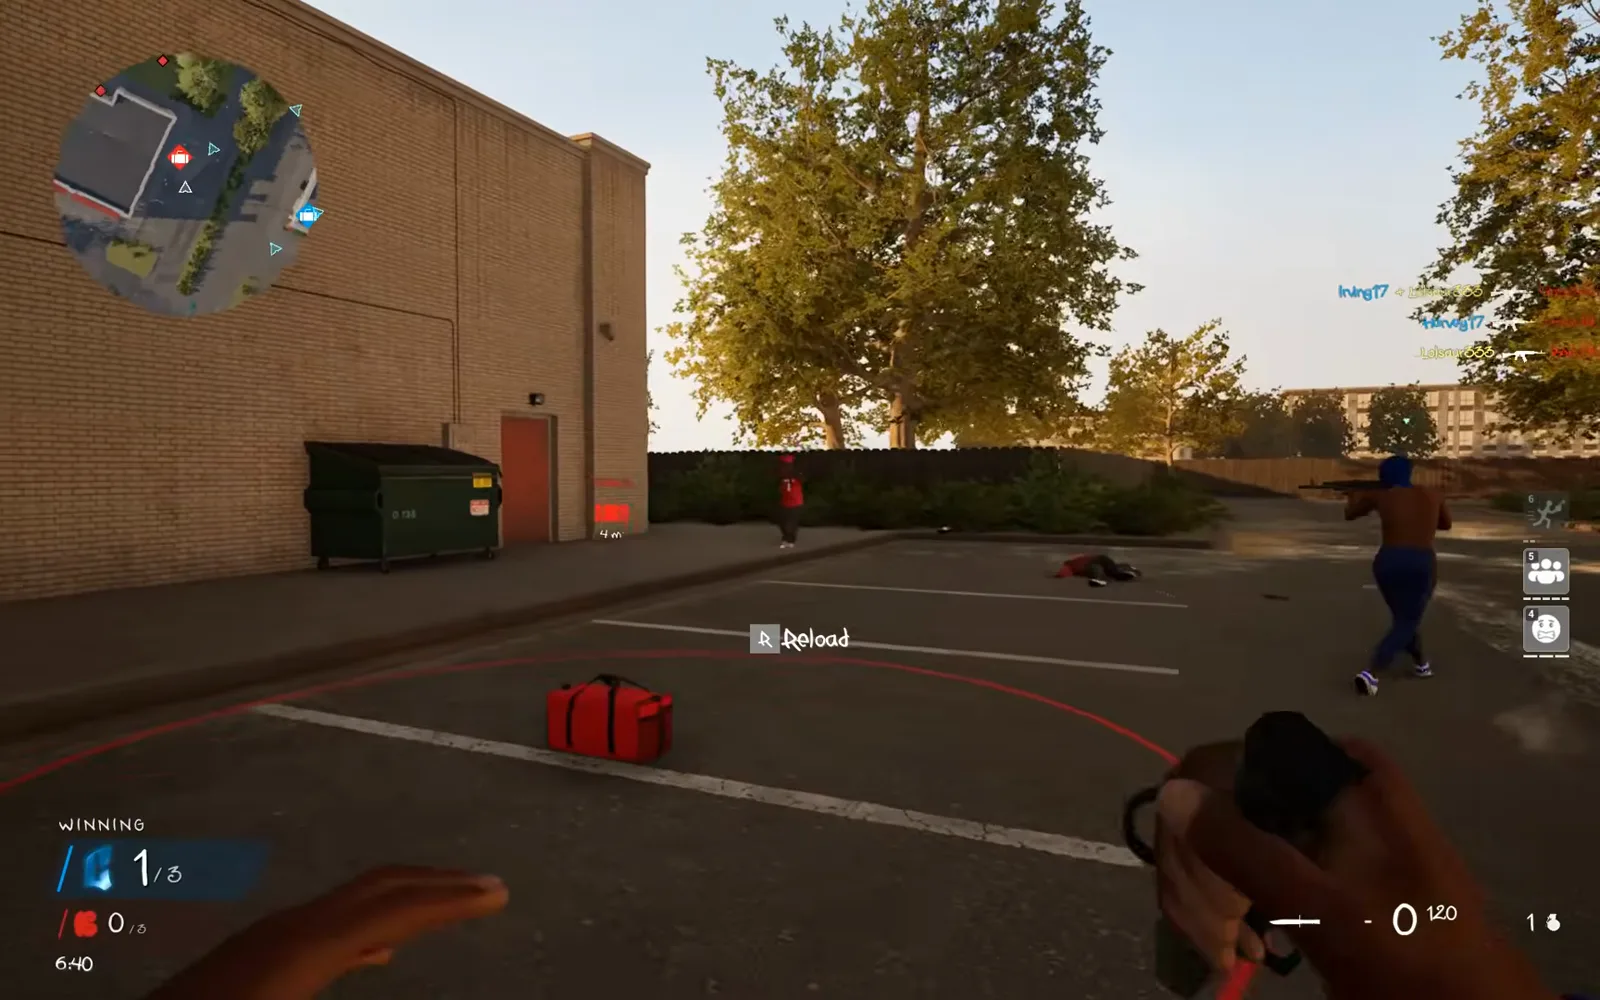
2. Reach the enemy bag location
The player reaches a red bag on the ground beside the building and dumpster. A friendly player is nearby, and a red outline marks the area. Use this frame to recognize the objective itself instead of treating every elimination along the approach as the end of the task. Check the entrances and your ammunition before moving on.
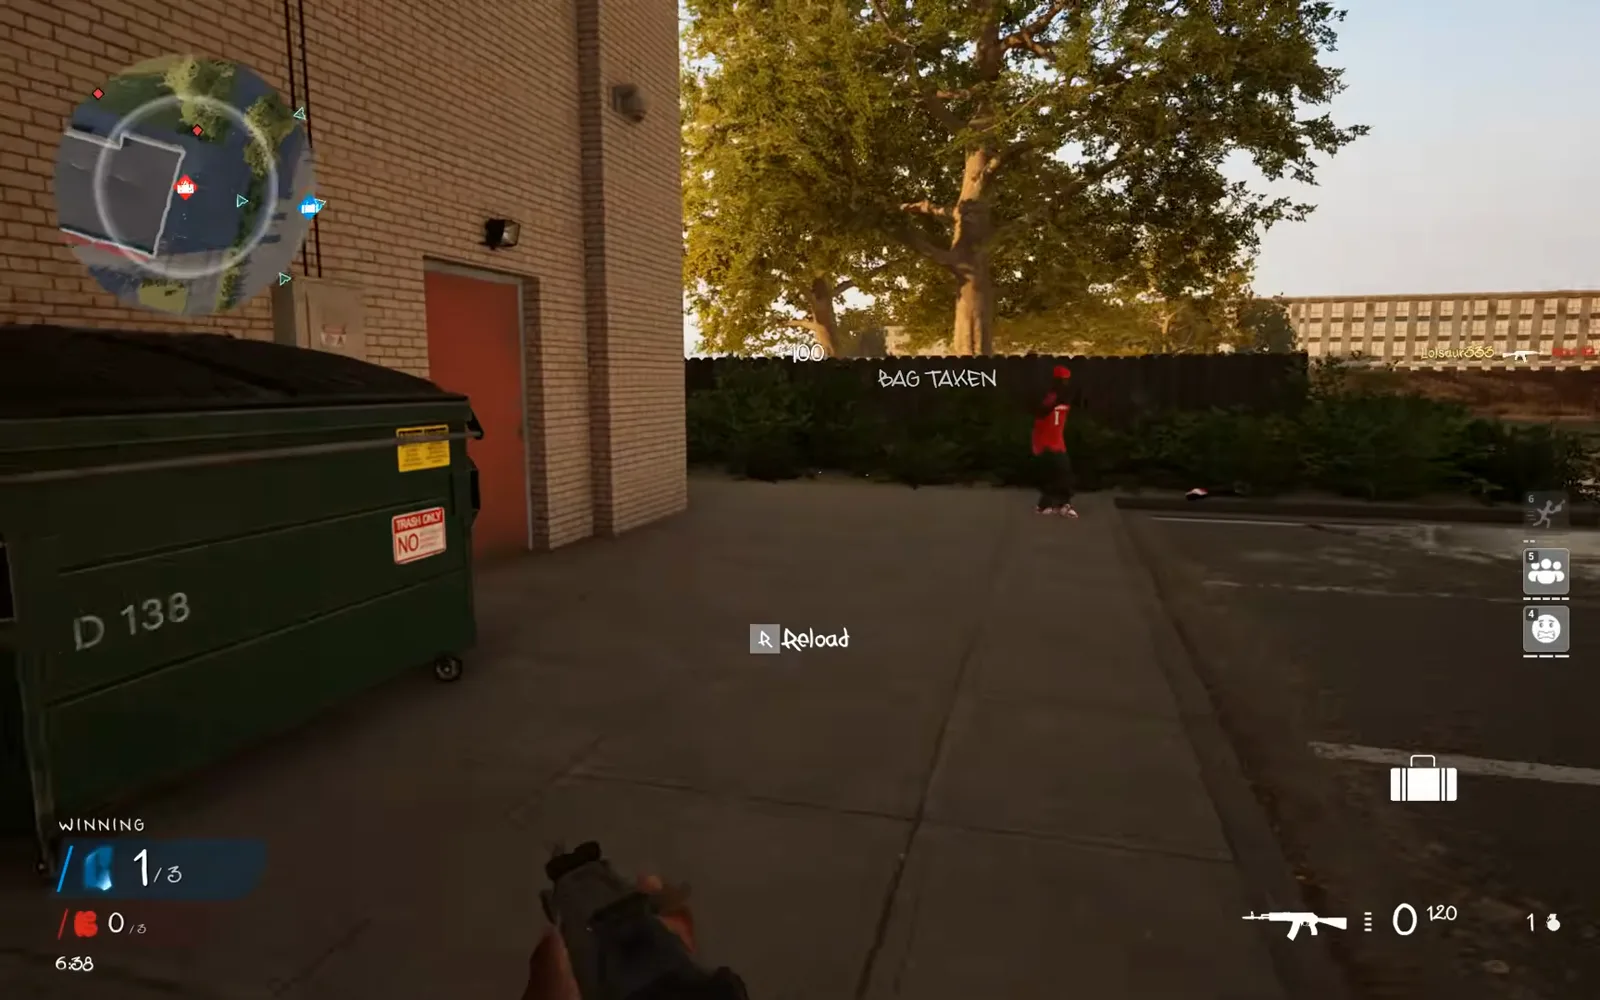
3. Check Bag Taken before starting the return
Two seconds later, Bag Taken appears and a white bag icon is visible on the lower-right HUD. This confirms the pickup in this recording. The capture score is still one at this point. Turn your attention to the route home: taking the bag and completing its delivery are separate moments.
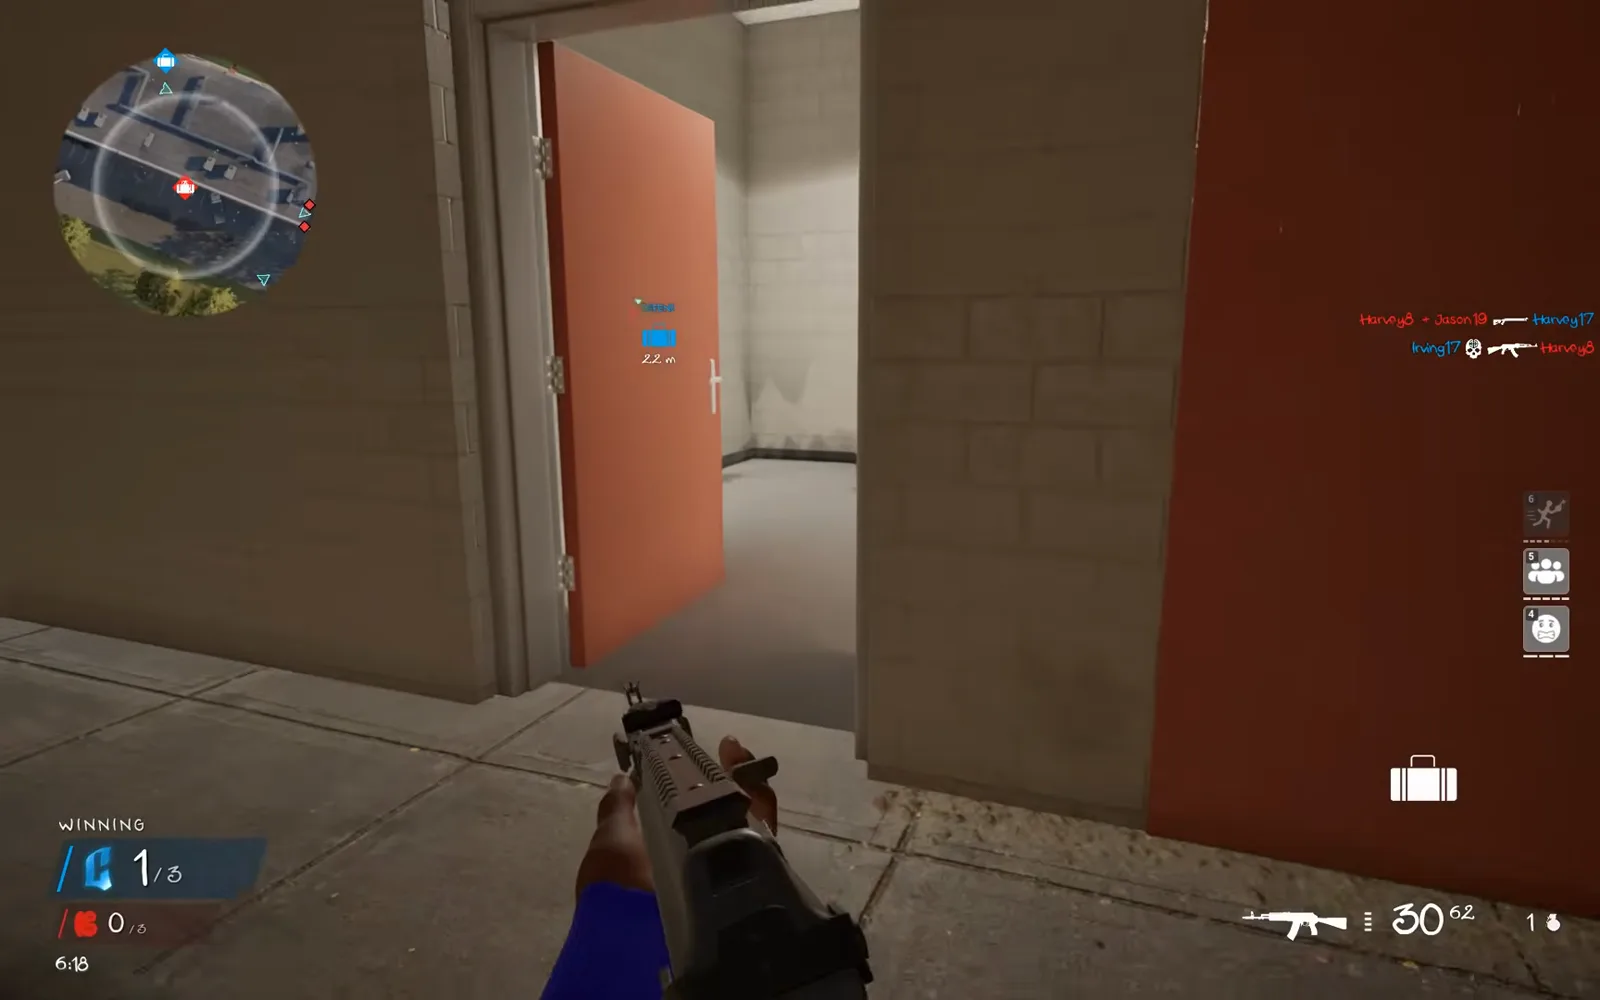
4. Bring the bag back toward your friendly objective
The player returns near the blue Defend marker while the bag icon remains on the HUD. The return is part of the objective: taking the enemy bag alone does not complete the delivery. As a practice exercise, identify one route back to friendly support before taking the bag and call out when you need help getting home.
5. Look for Bag Captured and the team score change
Inside the friendly area, Bag Captured appears and the blue team capture count increases from one to two. Use that confirmation to check the delivery succeeded. The round continues after this capture, so return to protecting your bag or supporting the next run instead of assuming one delivery ends the match.
Split the attack and defence jobs
A useful group exercise is to agree who attempts the bag run and who watches the approach to your own bag. A supporting player can describe where an opponent is approaching without abandoning the objective to chase them. Use the team voice-chat options so those callouts reach the intended audience.
The route in this recording is an example, not an optimal path for every map. Practise one outward route and one return using the map-learning worksheet. A custom or private session lets a group focus on that single objective. Read the available settings in your current build before starting.
Keep the different scoring rules separate
In Chain Snatch’s pickup walkthrough, the confirmation happens at the dropped chain. Here the bag must make a return trip. The six-mode reference compares those rules with team kills, territory and bomb rounds.
This run does not establish every condition for blocked captures, dropped-bag resets, carrier movement speed or every lobby’s score target. Check the current match’s objective messages when a delivery behaves differently. For this exercise, keep the goal simple: identify the two sides, verify the pickup and verify the completed return.
Related Articles
guides
Hood Warfare 2 Killstreaks: Names, Kills & Loadout Slots
Check the four Hood Warfare 2 killstreaks shown in launch-week gameplay, their kill requirements, three loadout slots and the dated evidence behind this list.
modes
Hood Warfare 2 Chain Snatch Guide: Pickups & Denials
Learn Hood Warfare 2 Chain Snatch with five gameplay screenshots showing dropped chains, friendly recoveries and enemy pickups. Follow the video step by step.
guides
Hood Warfare 2 Beginner Guide: Tips for Your First Match
Start Hood Warfare 2 with a bot practice plan, the right mode objective, sensible loadout checks and the confirmed voice-chat key.
Was this helpful?
Thanks for the feedback!