
Hood Warfare 2 Maps: Learn the Named Maps and Routes
Explore the Hood Warfare 2 maps named by Steam and the developer, with a practical route-learning plan and clear limits on unverified layouts.
FAQ
How many maps are in Hood Warfare 2?
Can I practise a map against bots?
Does The Trenches mean a literal trench battlefield?
Which maps are documented?
The Steam store names Downtown, Suburbs, The Trenches and Chicago Mall. The developer’s spawn-adjustment patch also mentions Supermarket as a small map. Together these establish at least five documented names, but they are not an independently captured list of every map in the current menu.
That distinction matters when comparing older guides. Four names in store copy should not become a permanent “four maps total” claim. Check the map selection in your current build when planning a session with friends.
| Documented name | Where it is confirmed | What we can safely say |
|---|---|---|
| Downtown | Steam store description | A named environment in the game |
| Suburbs | Steam store description | A named environment in the game |
| The Trenches | Steam store description | A named environment; no layout inferred from its name |
| Chicago Mall | Steam store description | A named environment in the game |
| Supermarket | Developer patch 1.0.10 | Described by the developer as inherently small |
Use scenes to plan what to look for
The official promotional images show residential streets, retail exteriors and indoor shopping areas. They help you recognize the game’s spaces. They are not annotated tactical maps and do not independently identify spawn positions, capture zones or named callouts.
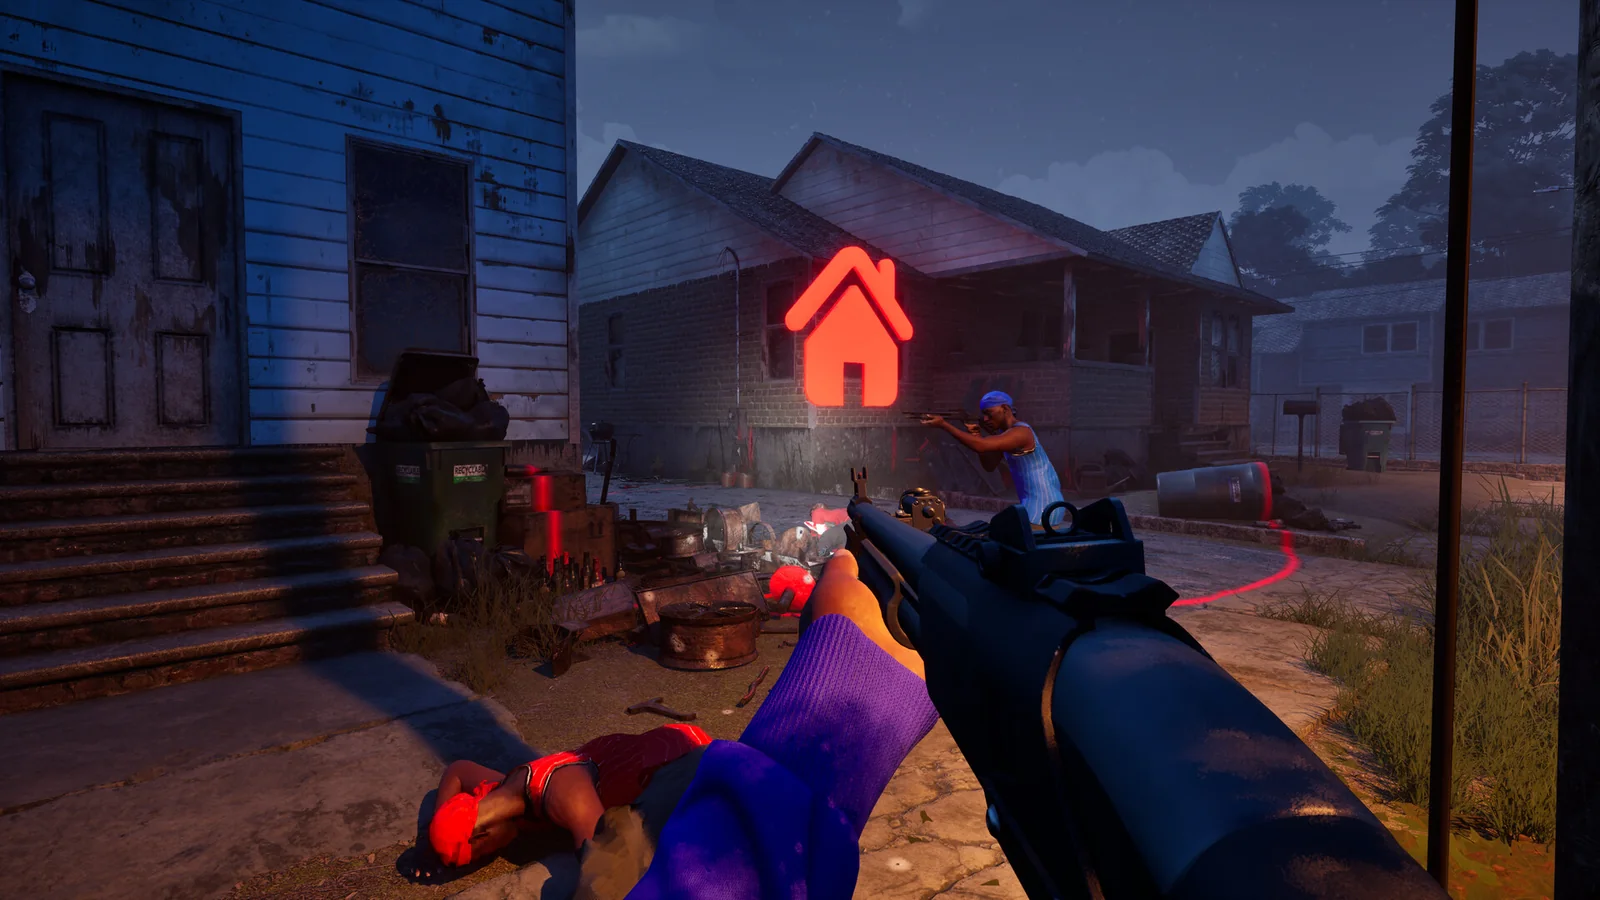
Official Steam screenshot / Trapstar Games. On a residential route, look for the points where building cover ends and a crossing begins.
A useful practice question is simple: can you travel between two landmarks without stopping to work out where you are? Choose visible features you can describe to a friend. Use temporary descriptions such as “the parked car” during your own session rather than presenting them as official callout names.
Learn an approach and an exit
Start a custom bot match on one map and choose a modest route. Walk it more than once. On the first pass, notice entrances. On the second, find where you could leave after a fight. On the third, check whether the route still helps when your destination changes.
This is an editorial training exercise, not a verified optimal route. Its purpose is to make your own observations comparable. Trying a different map after every death makes that harder.

Official Steam screenshot / Trapstar Games. In an open interior, practise identifying connected floors and entrances before choosing a crossing.
Record three things after the exercise:
- A landmark you can recognize quickly.
- An approach with somewhere to stop near cover.
- An alternative exit if the first route becomes contested.
Leave out exact distances and spawn predictions unless you have measured them. A route that worked once is a useful observation, not proof of a safe path in every match.
Change your route when the mode changes
The six game modes ask different questions of the same space. Turf War makes territory the target. Hit A Lick needs both an outward trip and a return trip with the bag. Destroy The Block has one life per round, which changes the cost of exploring an unfamiliar approach.
Practise the objective you intend to play. A route chosen only because it produced an elimination may leave you far from the bag, turf or bomb. If your group is learning together, explain the route before the match and compare what each person could see afterward.
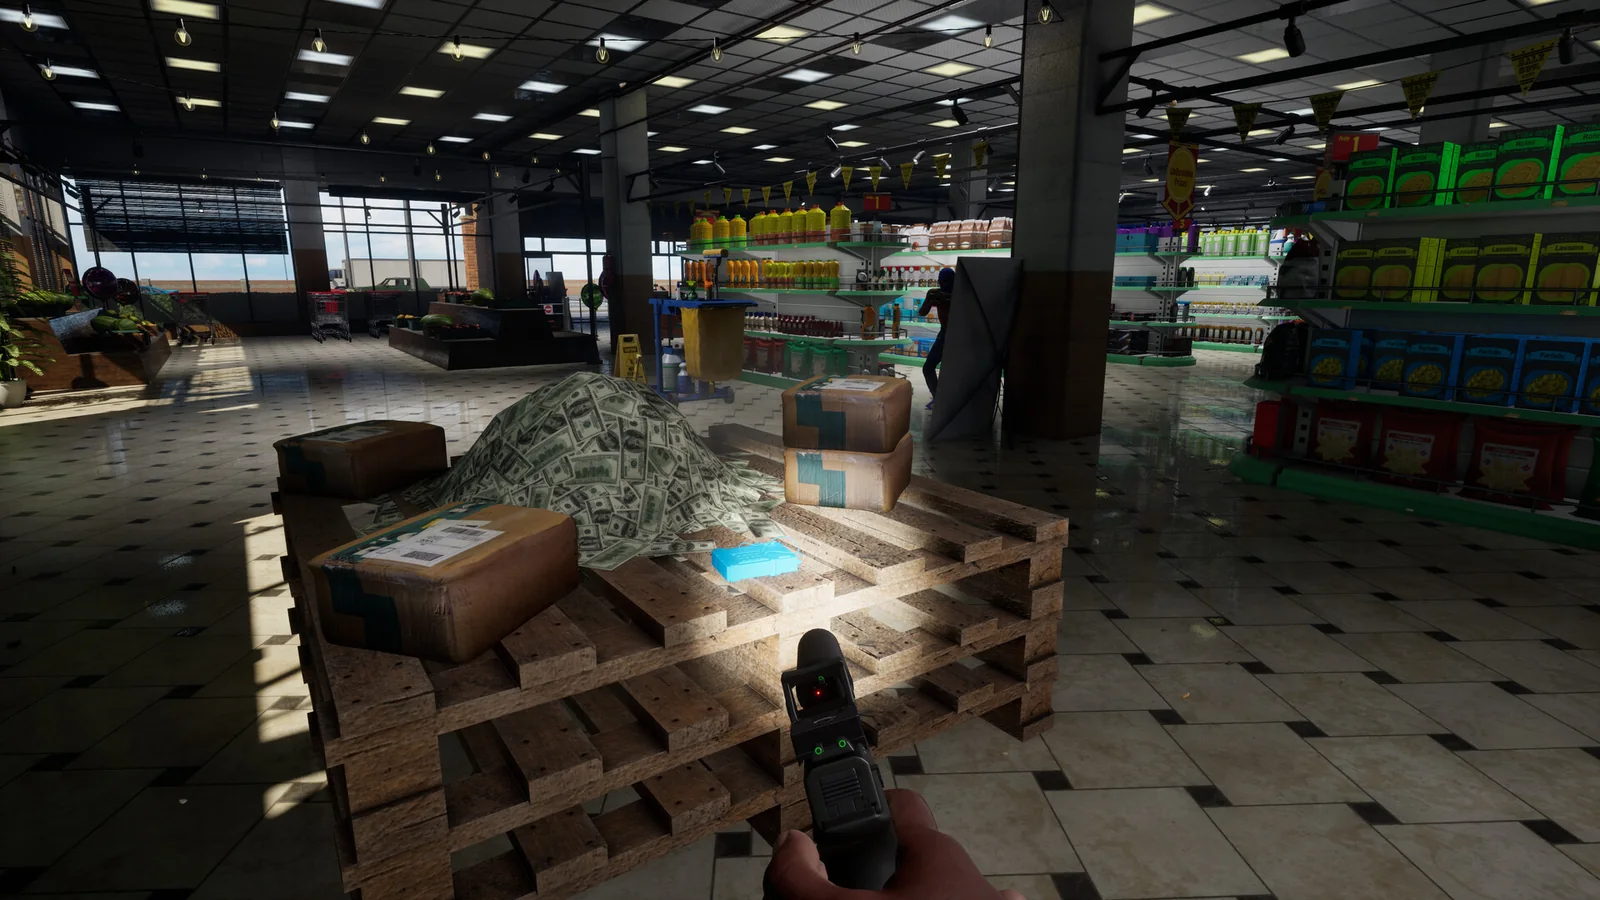
Official Steam screenshot / Trapstar Games. Practise checking the next opening in a tight retail interior; this image is not a spawn diagram.
Account for the launch spawn changes
Patch 1.0.10 introduced spawn adjustments and spawn protection. The developer also warned that very small maps, including Supermarket, would still have short fights. Do not treat an older spawn-camping clip as a complete description of the current build.
Check the patch and fixes guide before diagnosing every quick death as a loadout problem. Then use a repeatable weapon setup while you learn the route. Keeping one part of the exercise stable makes it easier to see what the map itself is teaching you.
Related Articles
guides
Hood Warfare 2 Beginner Guide: Tips for Your First Match
Start Hood Warfare 2 with a bot practice plan, the right mode objective, sensible loadout checks and the confirmed voice-chat key.
guides
Hood Warfare 2 Bots & Private Matches: Play With Friends
Learn what Hood Warfare 2 confirms about bot matches and password-only private lobbies, plus a practical checklist for hosting friends.
guides
Hood Warfare 2 Controls: Voice Chat, T Key & Controllers
Find the confirmed Hood Warfare 2 push-to-talk key, team and lobby voice options, PC controller support and sensible input checks.
Was this helpful?
Thanks for the feedback!